
Digging In: Photo Tips for Nature Nuts
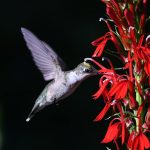
Nature photography is a lot like other forms of photography. The main difference is your subjects will either move quickly and unpredictably or are hundreds of feet in size (hopefully not both or we’ll all have a big problem on our hands). If you’re just starting out in nature photography, know that you don’t need expensive cameras with foot-long telephoto lenses to get great pictures. Granted, using a 600mm lens to snap bird photos is easier than climbing trees with an iPhone, but as any seasoned photographer will tell you, equipment a photographer does not make. Understanding your subjects, developing your approach, knowing your tools, and taking lots and lots (and lots) of photos is where the craft is cultivated.
Preparation
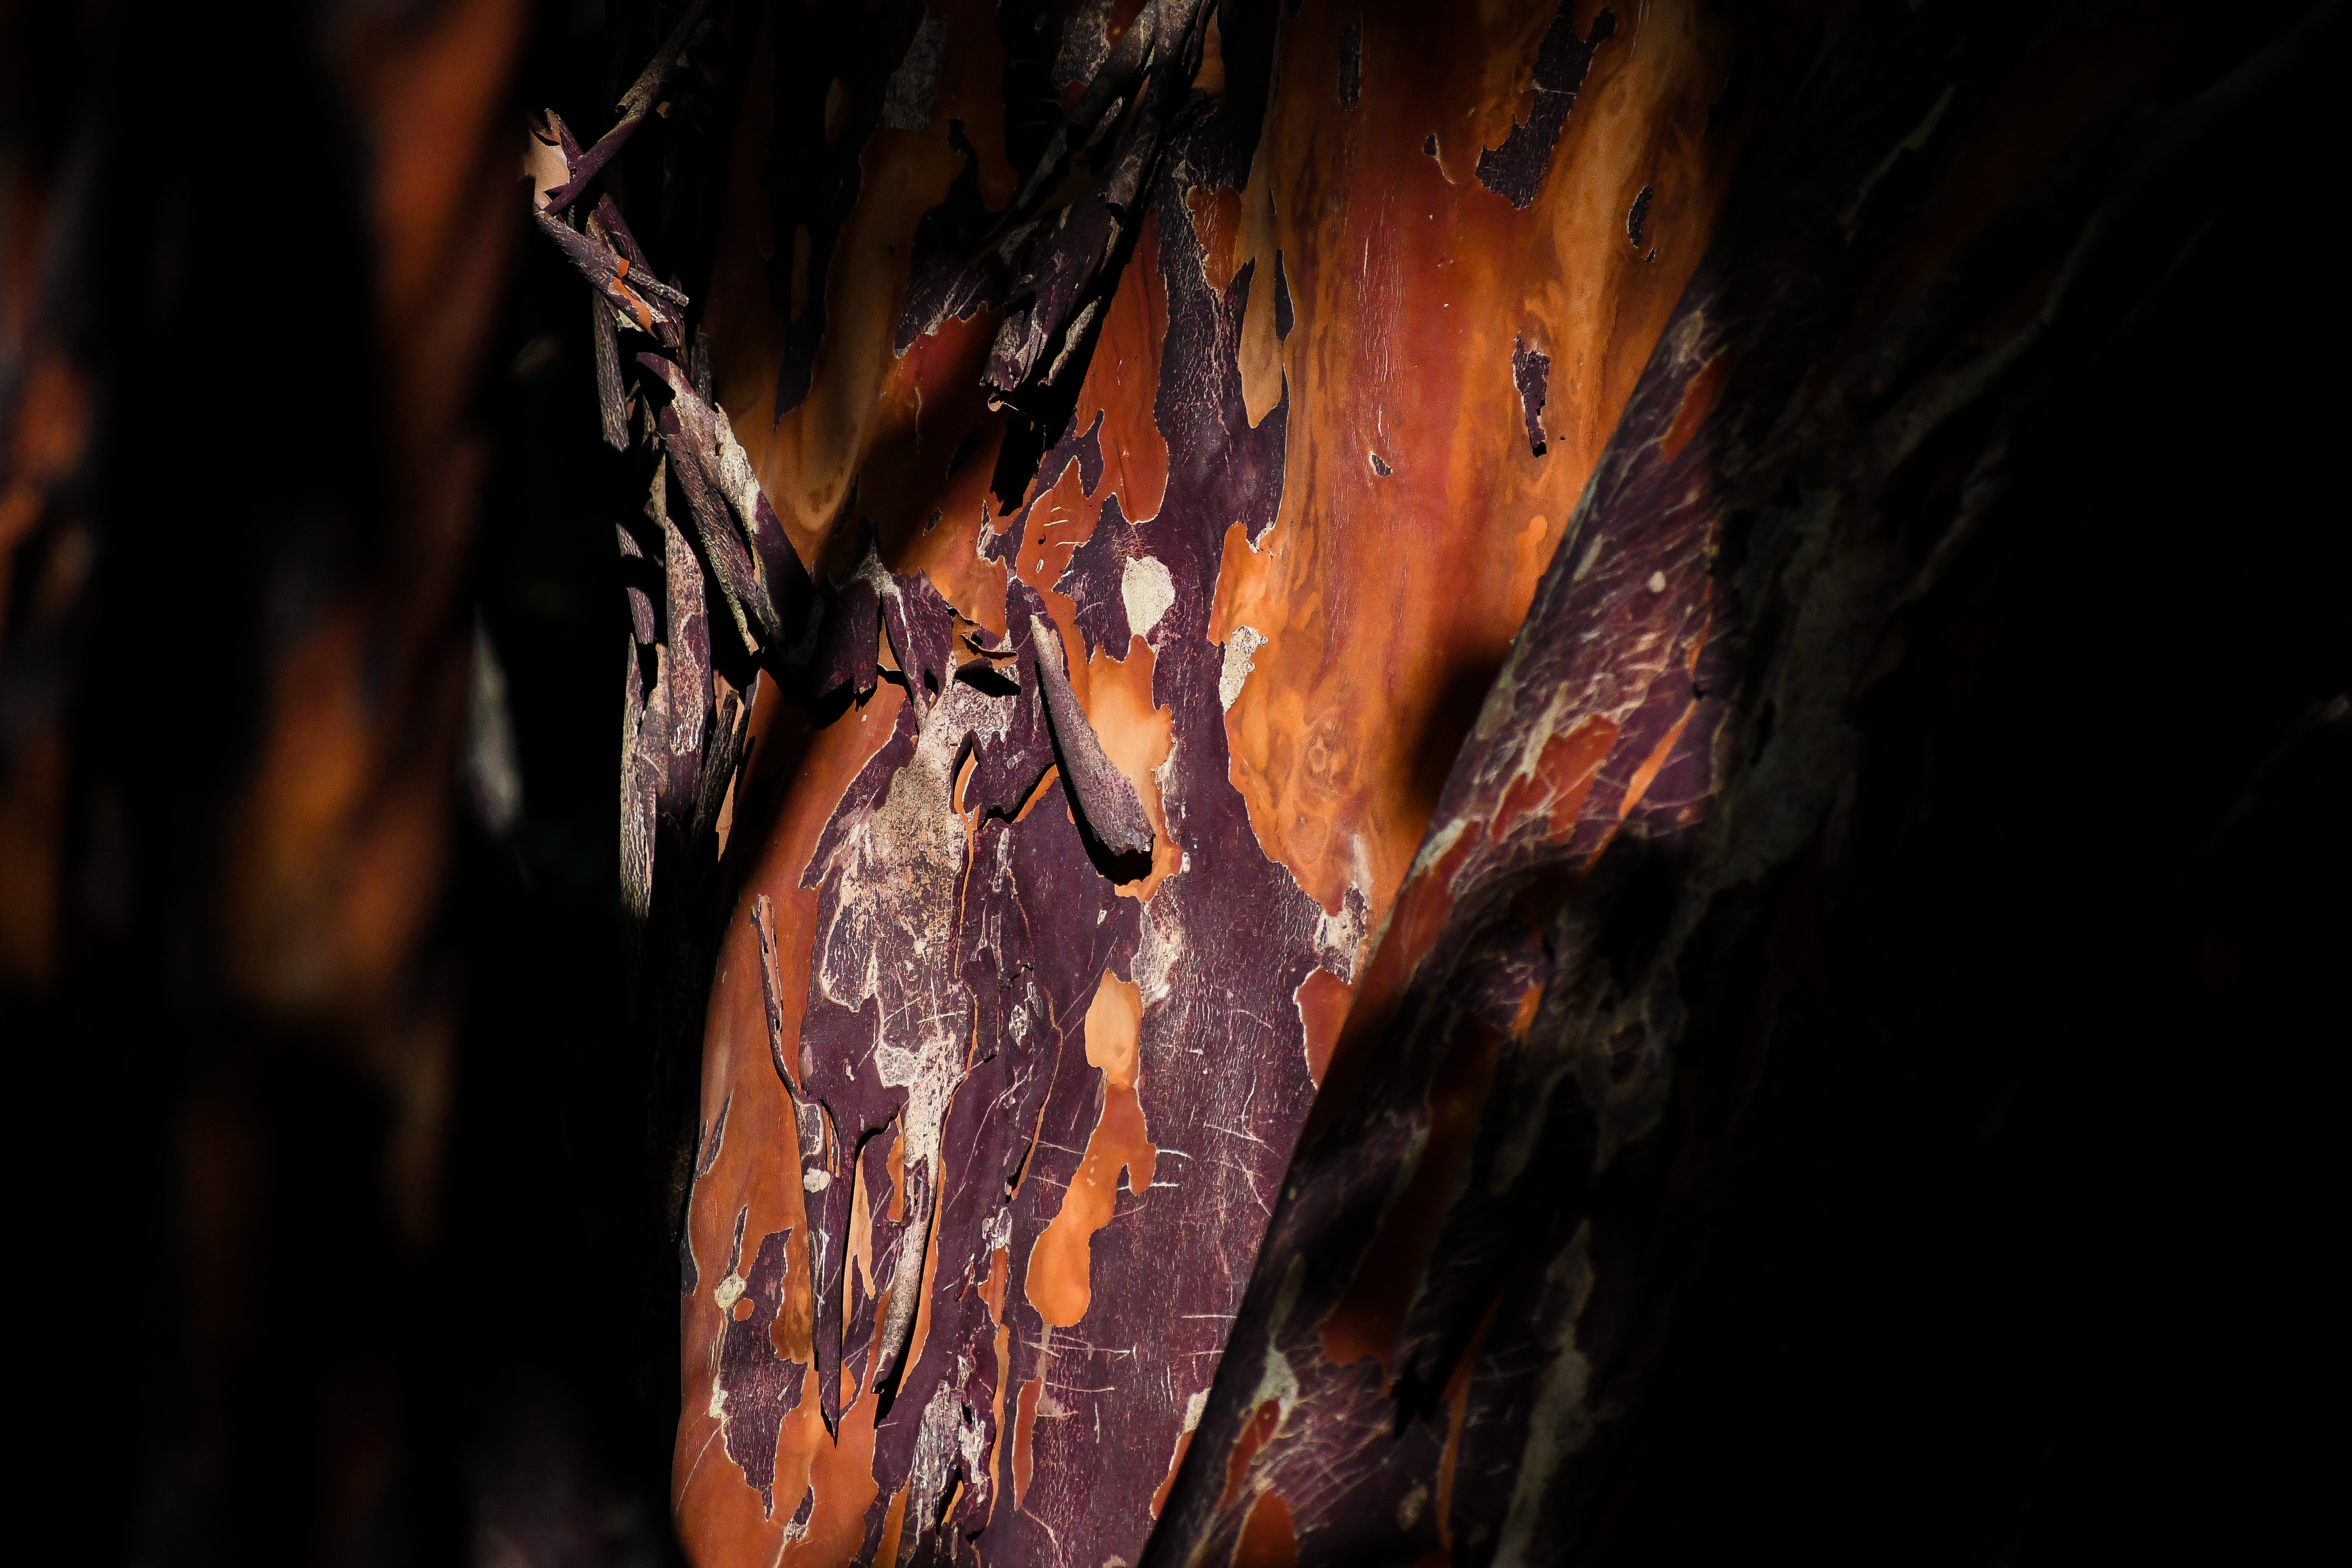
The wildlife you’re trying to capture the spontaneous essence of aren’t keen on loud noises and quick movement. Whether it’s birds, reptiles, fish, insects, or Sasquatches, all have developed hard-wired behaviors over evolutionary timescales to keep them distant from predators with cameras. One way to overcome this is by planning your shoots. This doesn’t mean you need to live in a tree trunk for weeks at a time to study an area, but some reconnaissance of a potential shooting location doesn’t hurt. Doing so will give you ideas about where to set up so you become part of the scenery rather than an intruder.
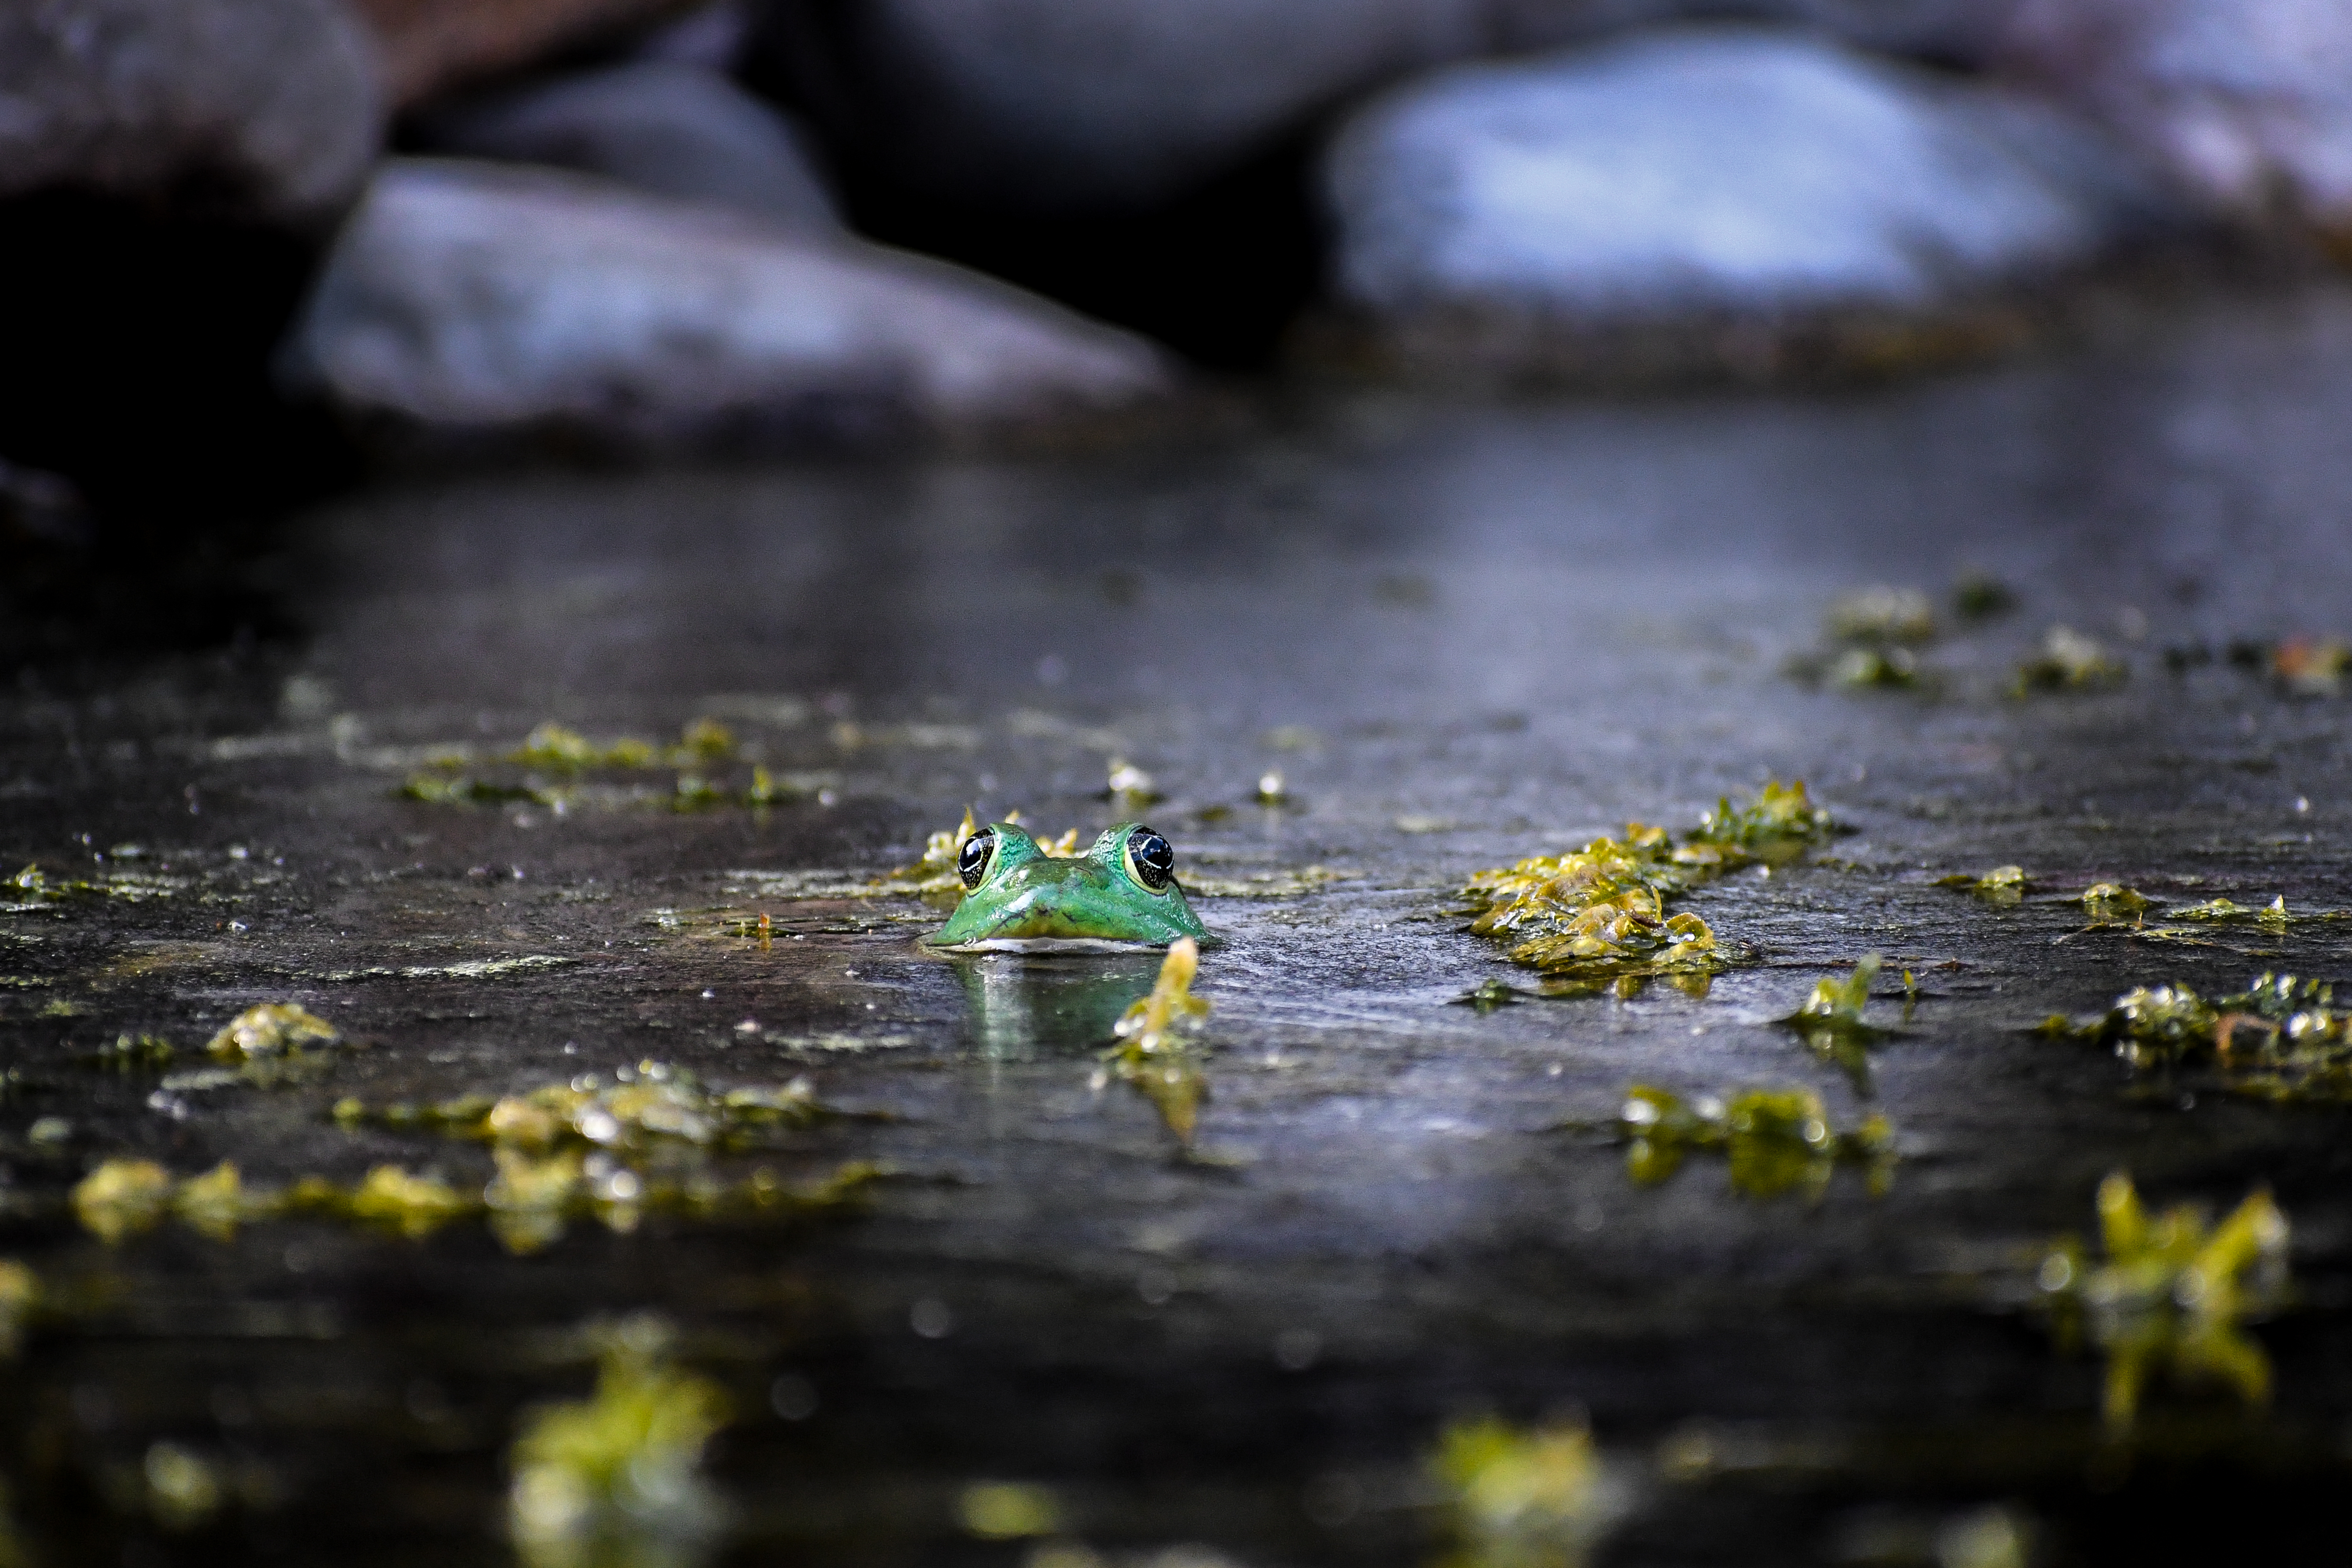
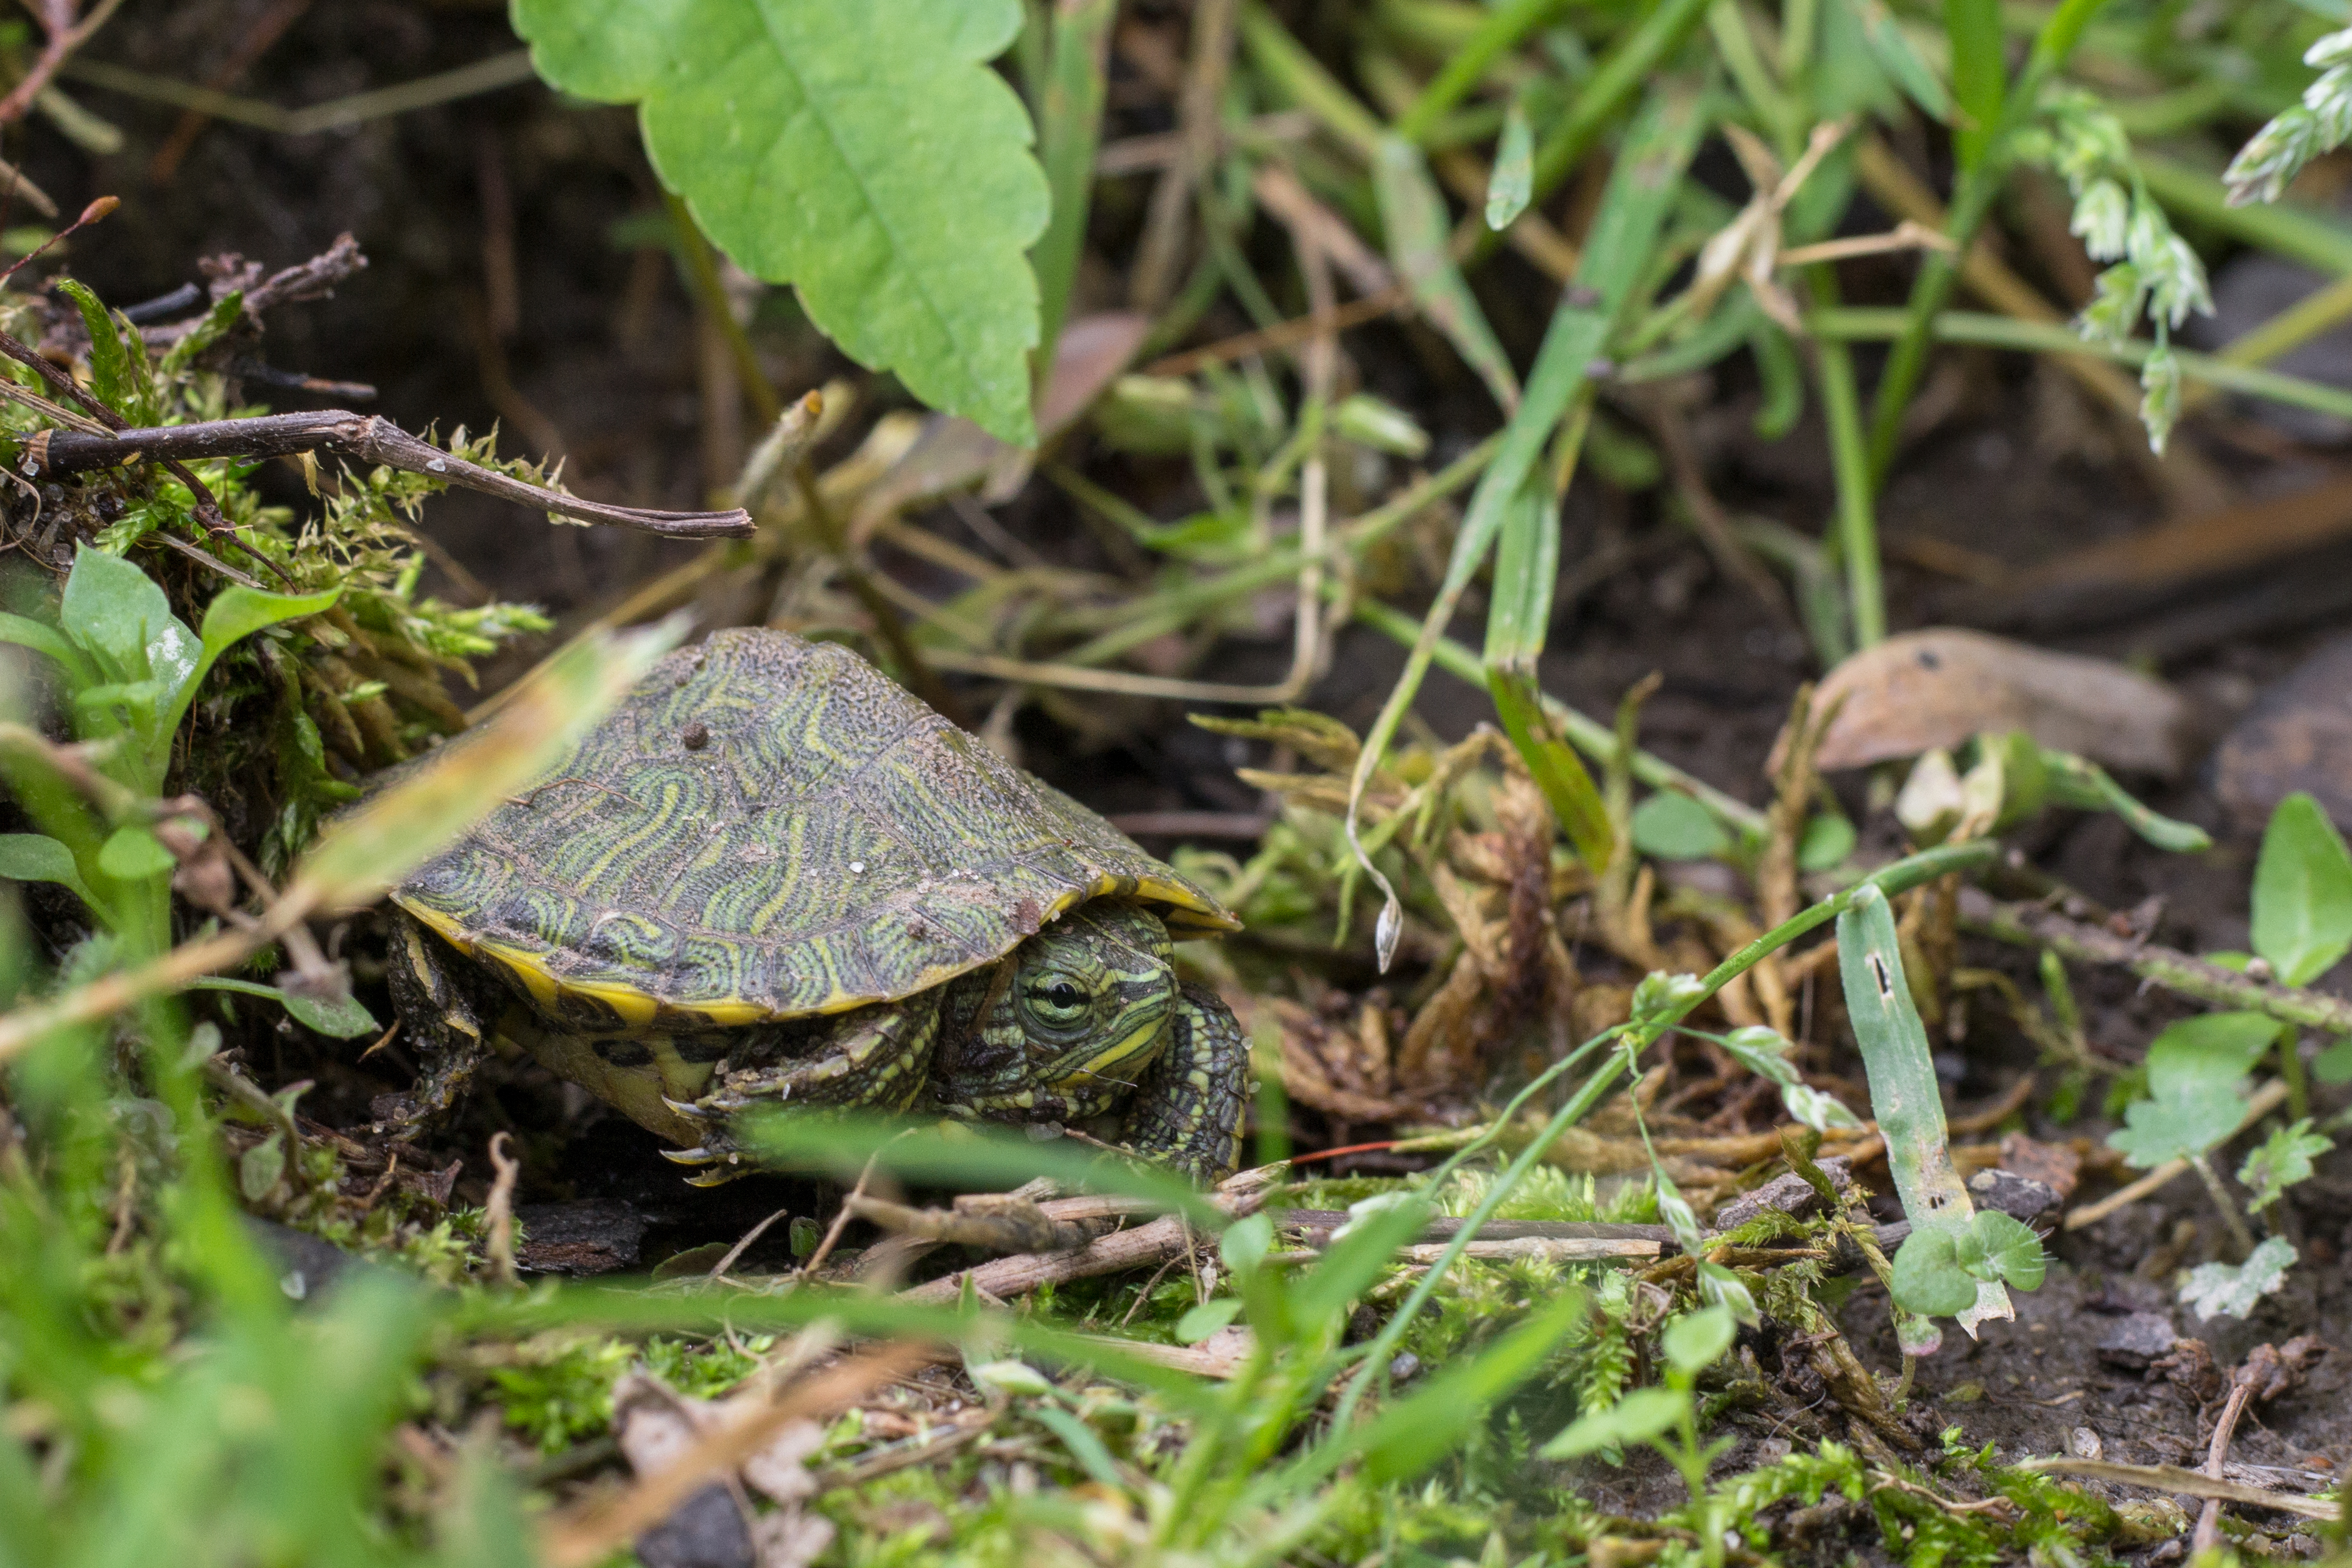
Researching the habits of your subjects helps too: you’ll know where you’re more likely to find them and under what conditions. Some of my favorite animals to shoot are frogs. On rainy summer days, I charge (stealthily) down to the nearest pond because I know the wet weather keeps them from drying out so they’re more active. Turtles on the other hand require sunny days to harden their shells and to get energy for their turtle tasks; you don’t find them out as much during these rainy days. On moody, overcast days all kinds of predatory birds are out on local lakes because the atmosphere helps them stay concealed while hunting. This kind of knowledge aides you in making the most of every day of shooting regardless of the conditions. Just be sure to bring appropriate weather protection for your gear.
Positioning
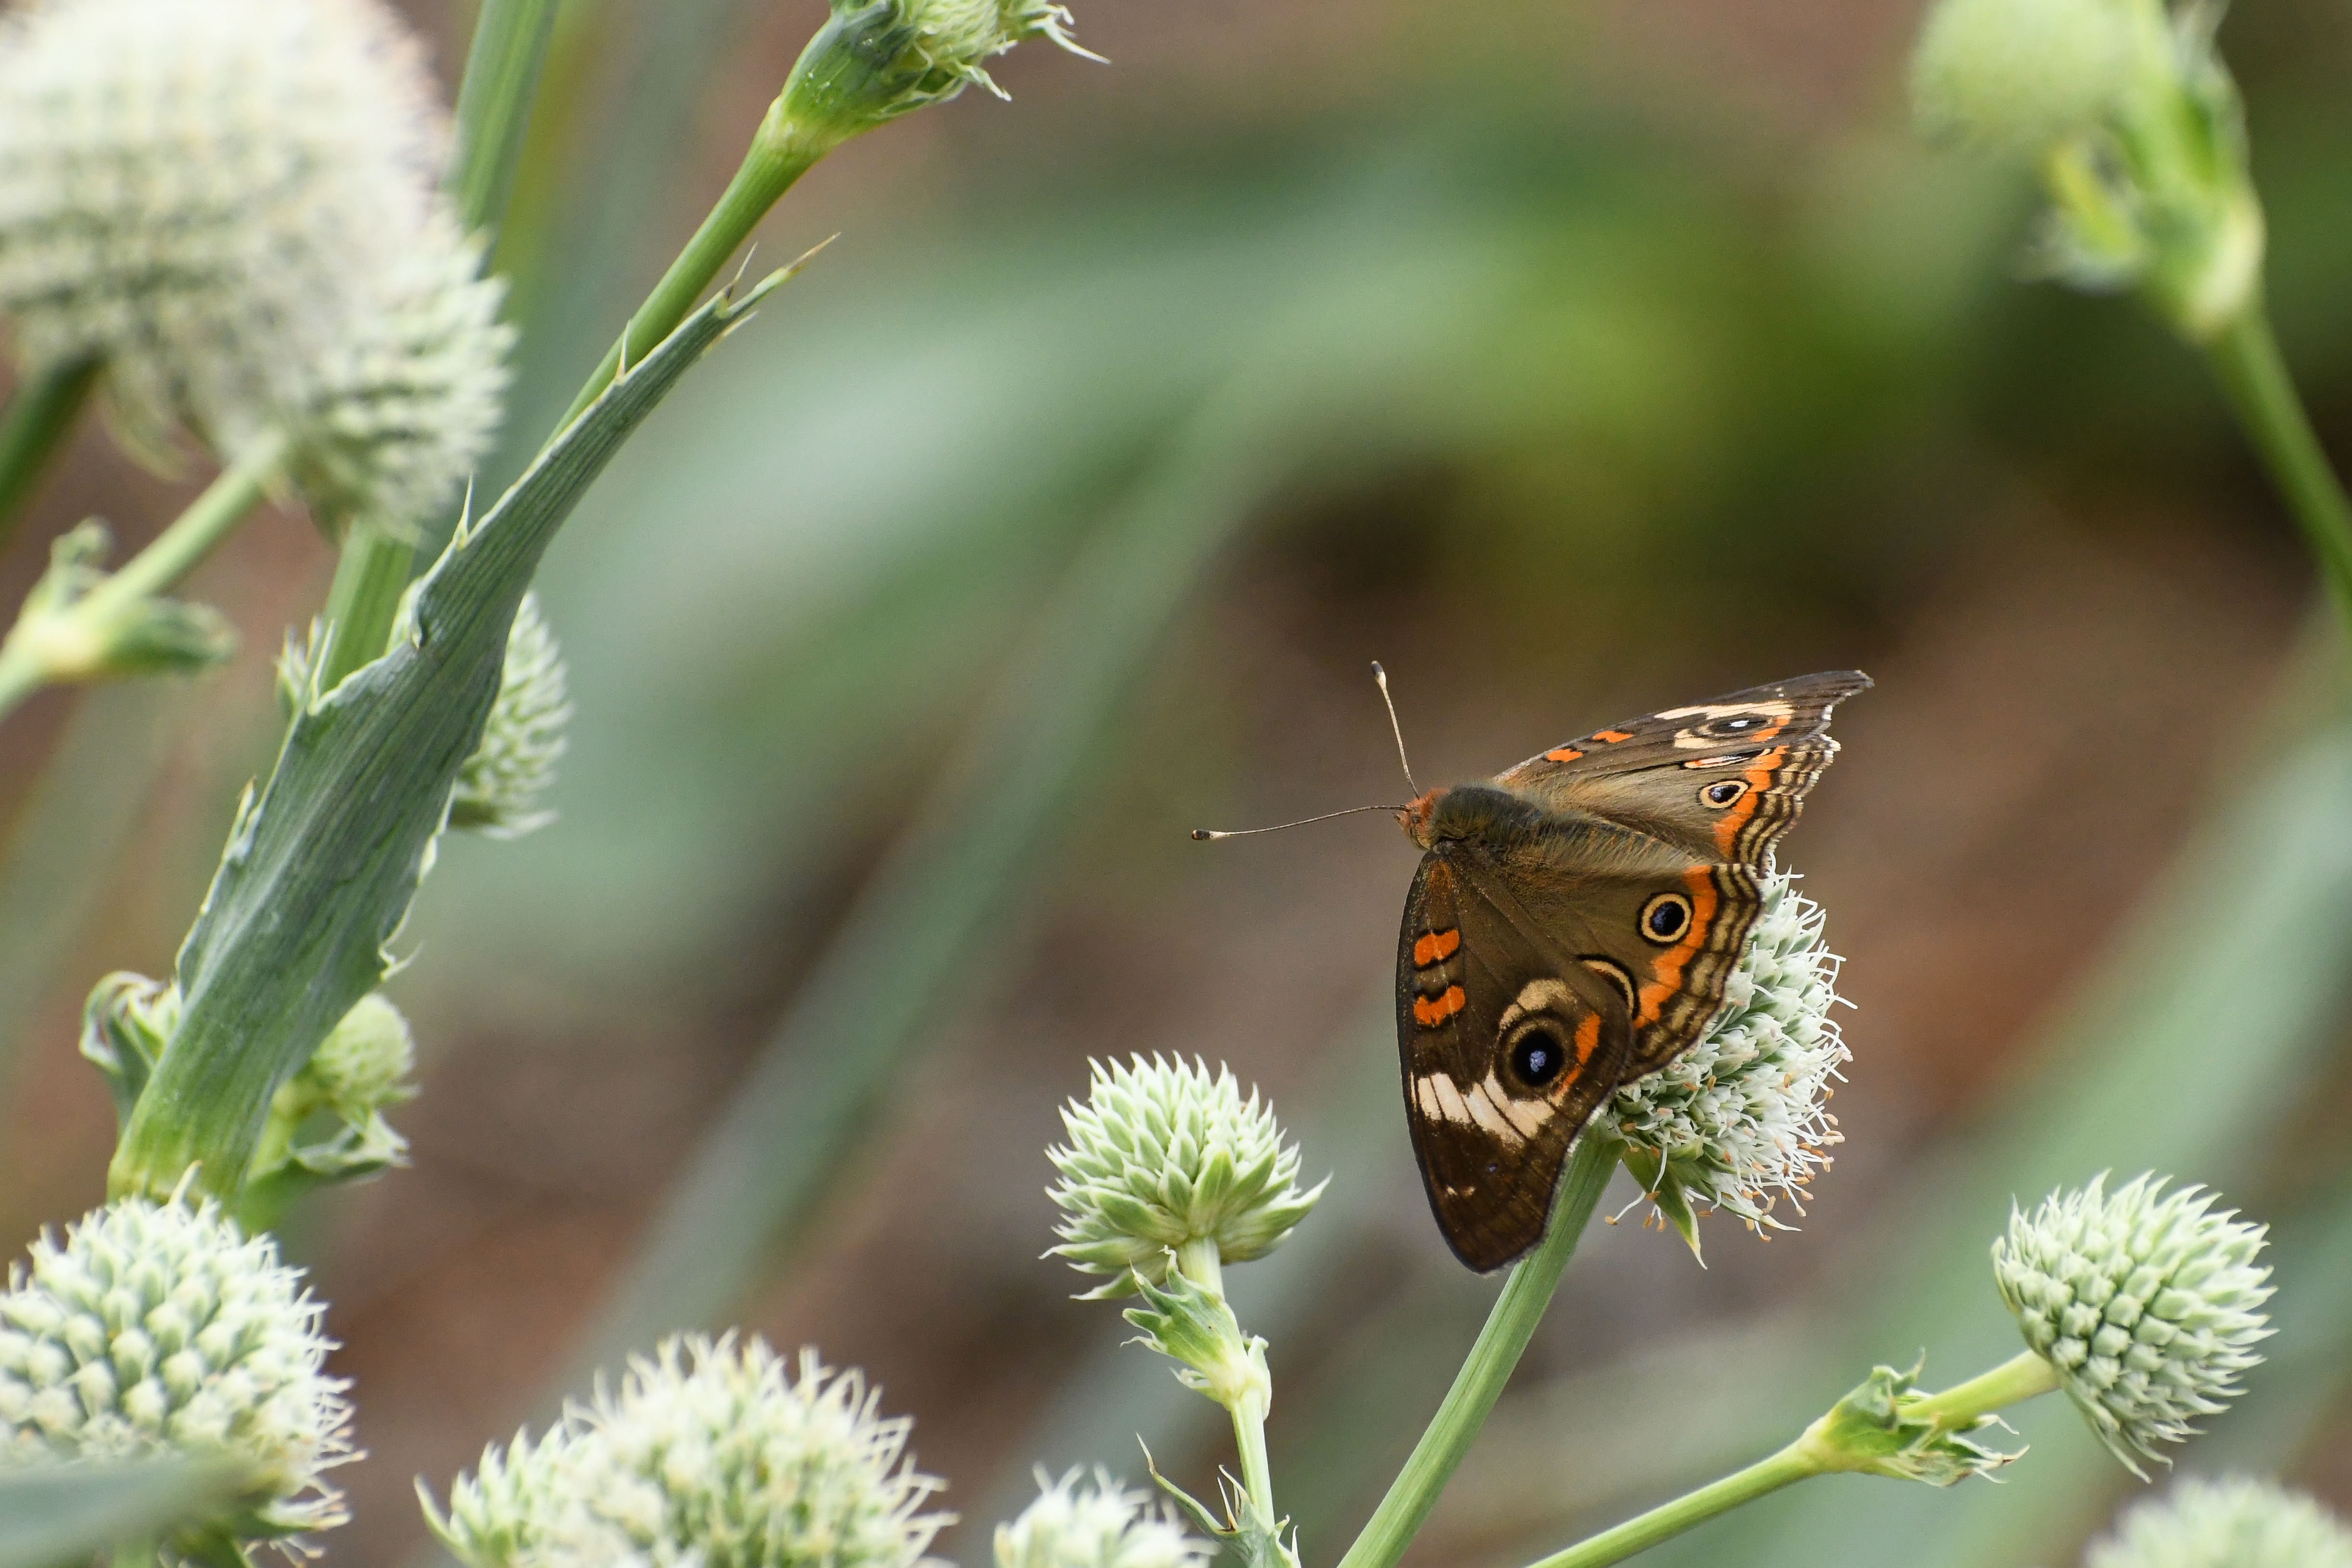
When taking pictures of children, it’s key to get down to their level to grab the best shots. The same goes for wildlife. Unless you’re photographing giraffes, it’s generally best to get down to eye-level with your subject—the exception being if the type of shot you’re going for is specific to another angle. To photograph nature, you must become one with it. This sometimes involves getting down in the dirt, maybe laying prone in the rain by a pond, to get the correct angle, but that’s all part of the fun!
This idea is also important for landscapes. A frequent mistake is not getting a full depth of frame in a shot, snapping only the subject in the distance, such as a mountain ridge or faraway riverbank. Sometimes, this is the appropriate action for the intended effect; other times, the image ends up feeling flat. What’s missing is the full narrative of foreground, middleground, and background. This means finding an object of interest near, middle, and far in your shot to create the impression of depth and scale. Rather than shooting from a static standing position, try kneeling, sitting, or laying prone to see if you can achieve a fuller frame. If your means allow, purchase a tripod: it will save you from having to get quite so dirty, and your shots will be exceedingly sharper than handheld. Having a tripod also opens the possibility for long-exposure shots.
Know your Tools
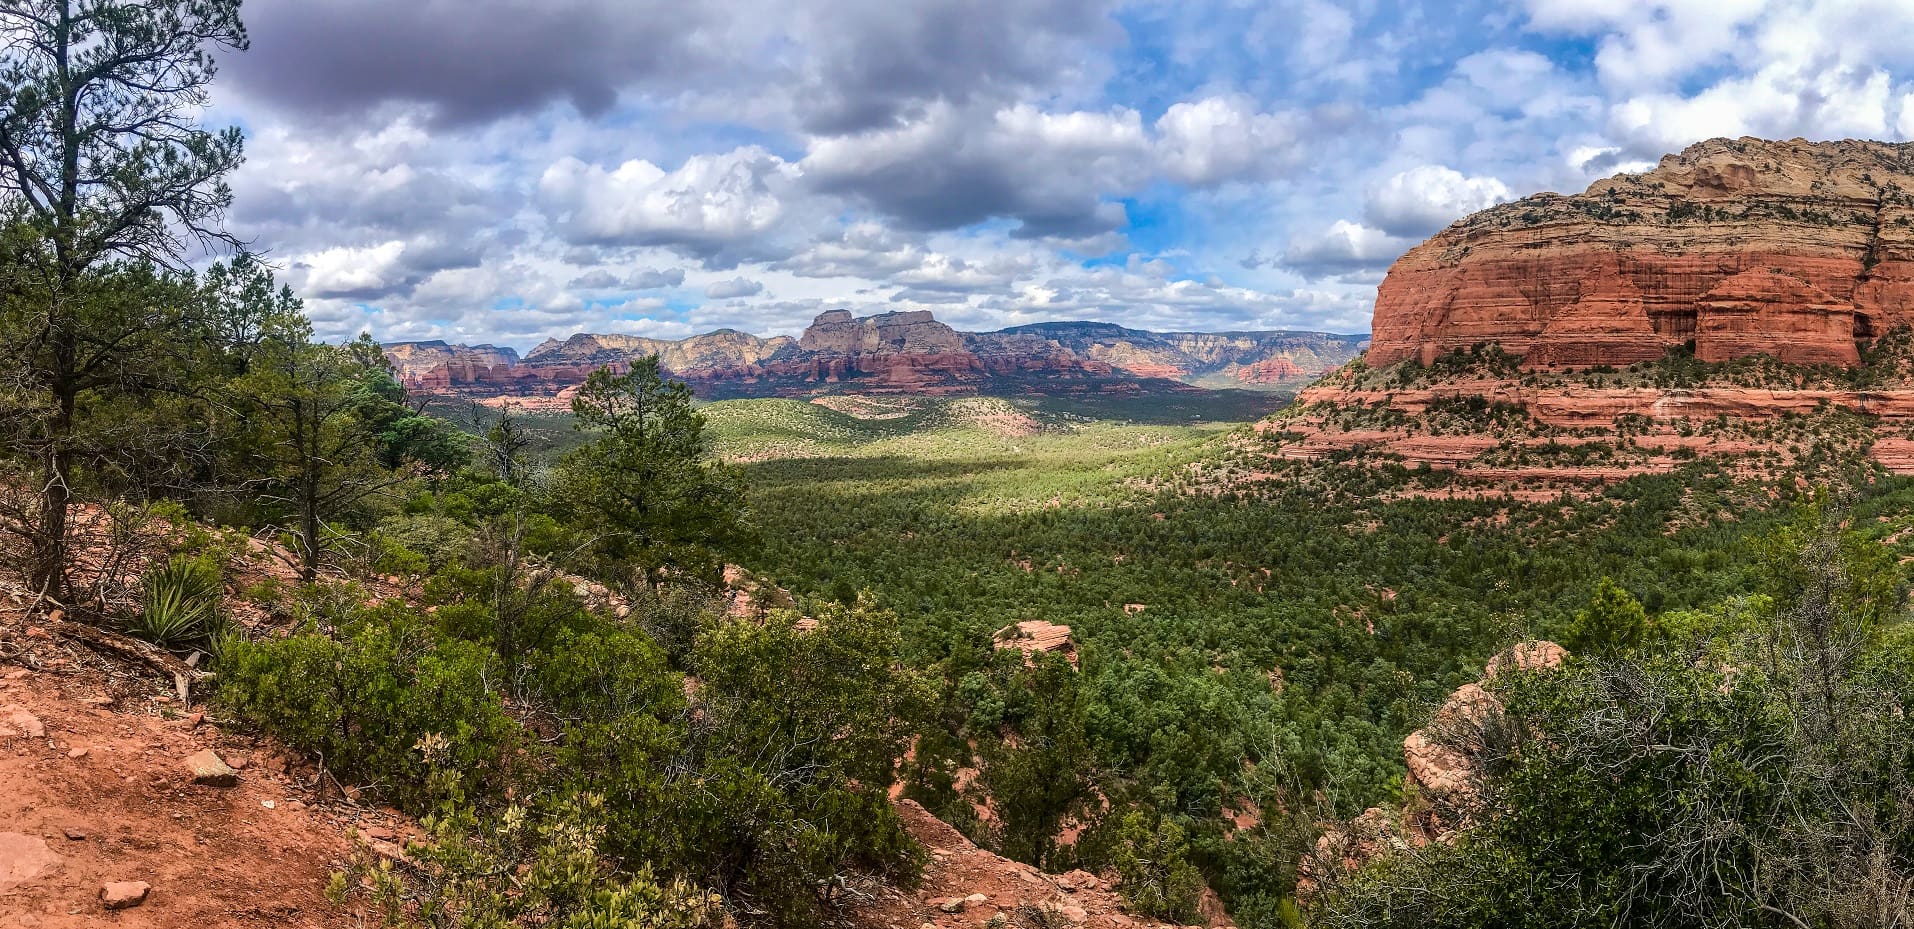
Generally speaking, certain tools work better for certain applications. Wide-angle lenses are preferred for landscape photography because they capture an expanded view that evokes openness. The panoramic feature on a phone is the perfect way to get more real estate using limited means. That’s how I shot the previous Sedona picture: an iPhone 7 in Pano mode. Telephoto lenses allow for close-ups of small or distant wildlife moving at speed. Composition concepts like The Rule of Thirds and the Golden Ratio are quick ways to set up better arrangements than snapping on impulse. To draw the eye through the frame effectively in landscapes, watch for leading lines such as branches, trails, and rivers.
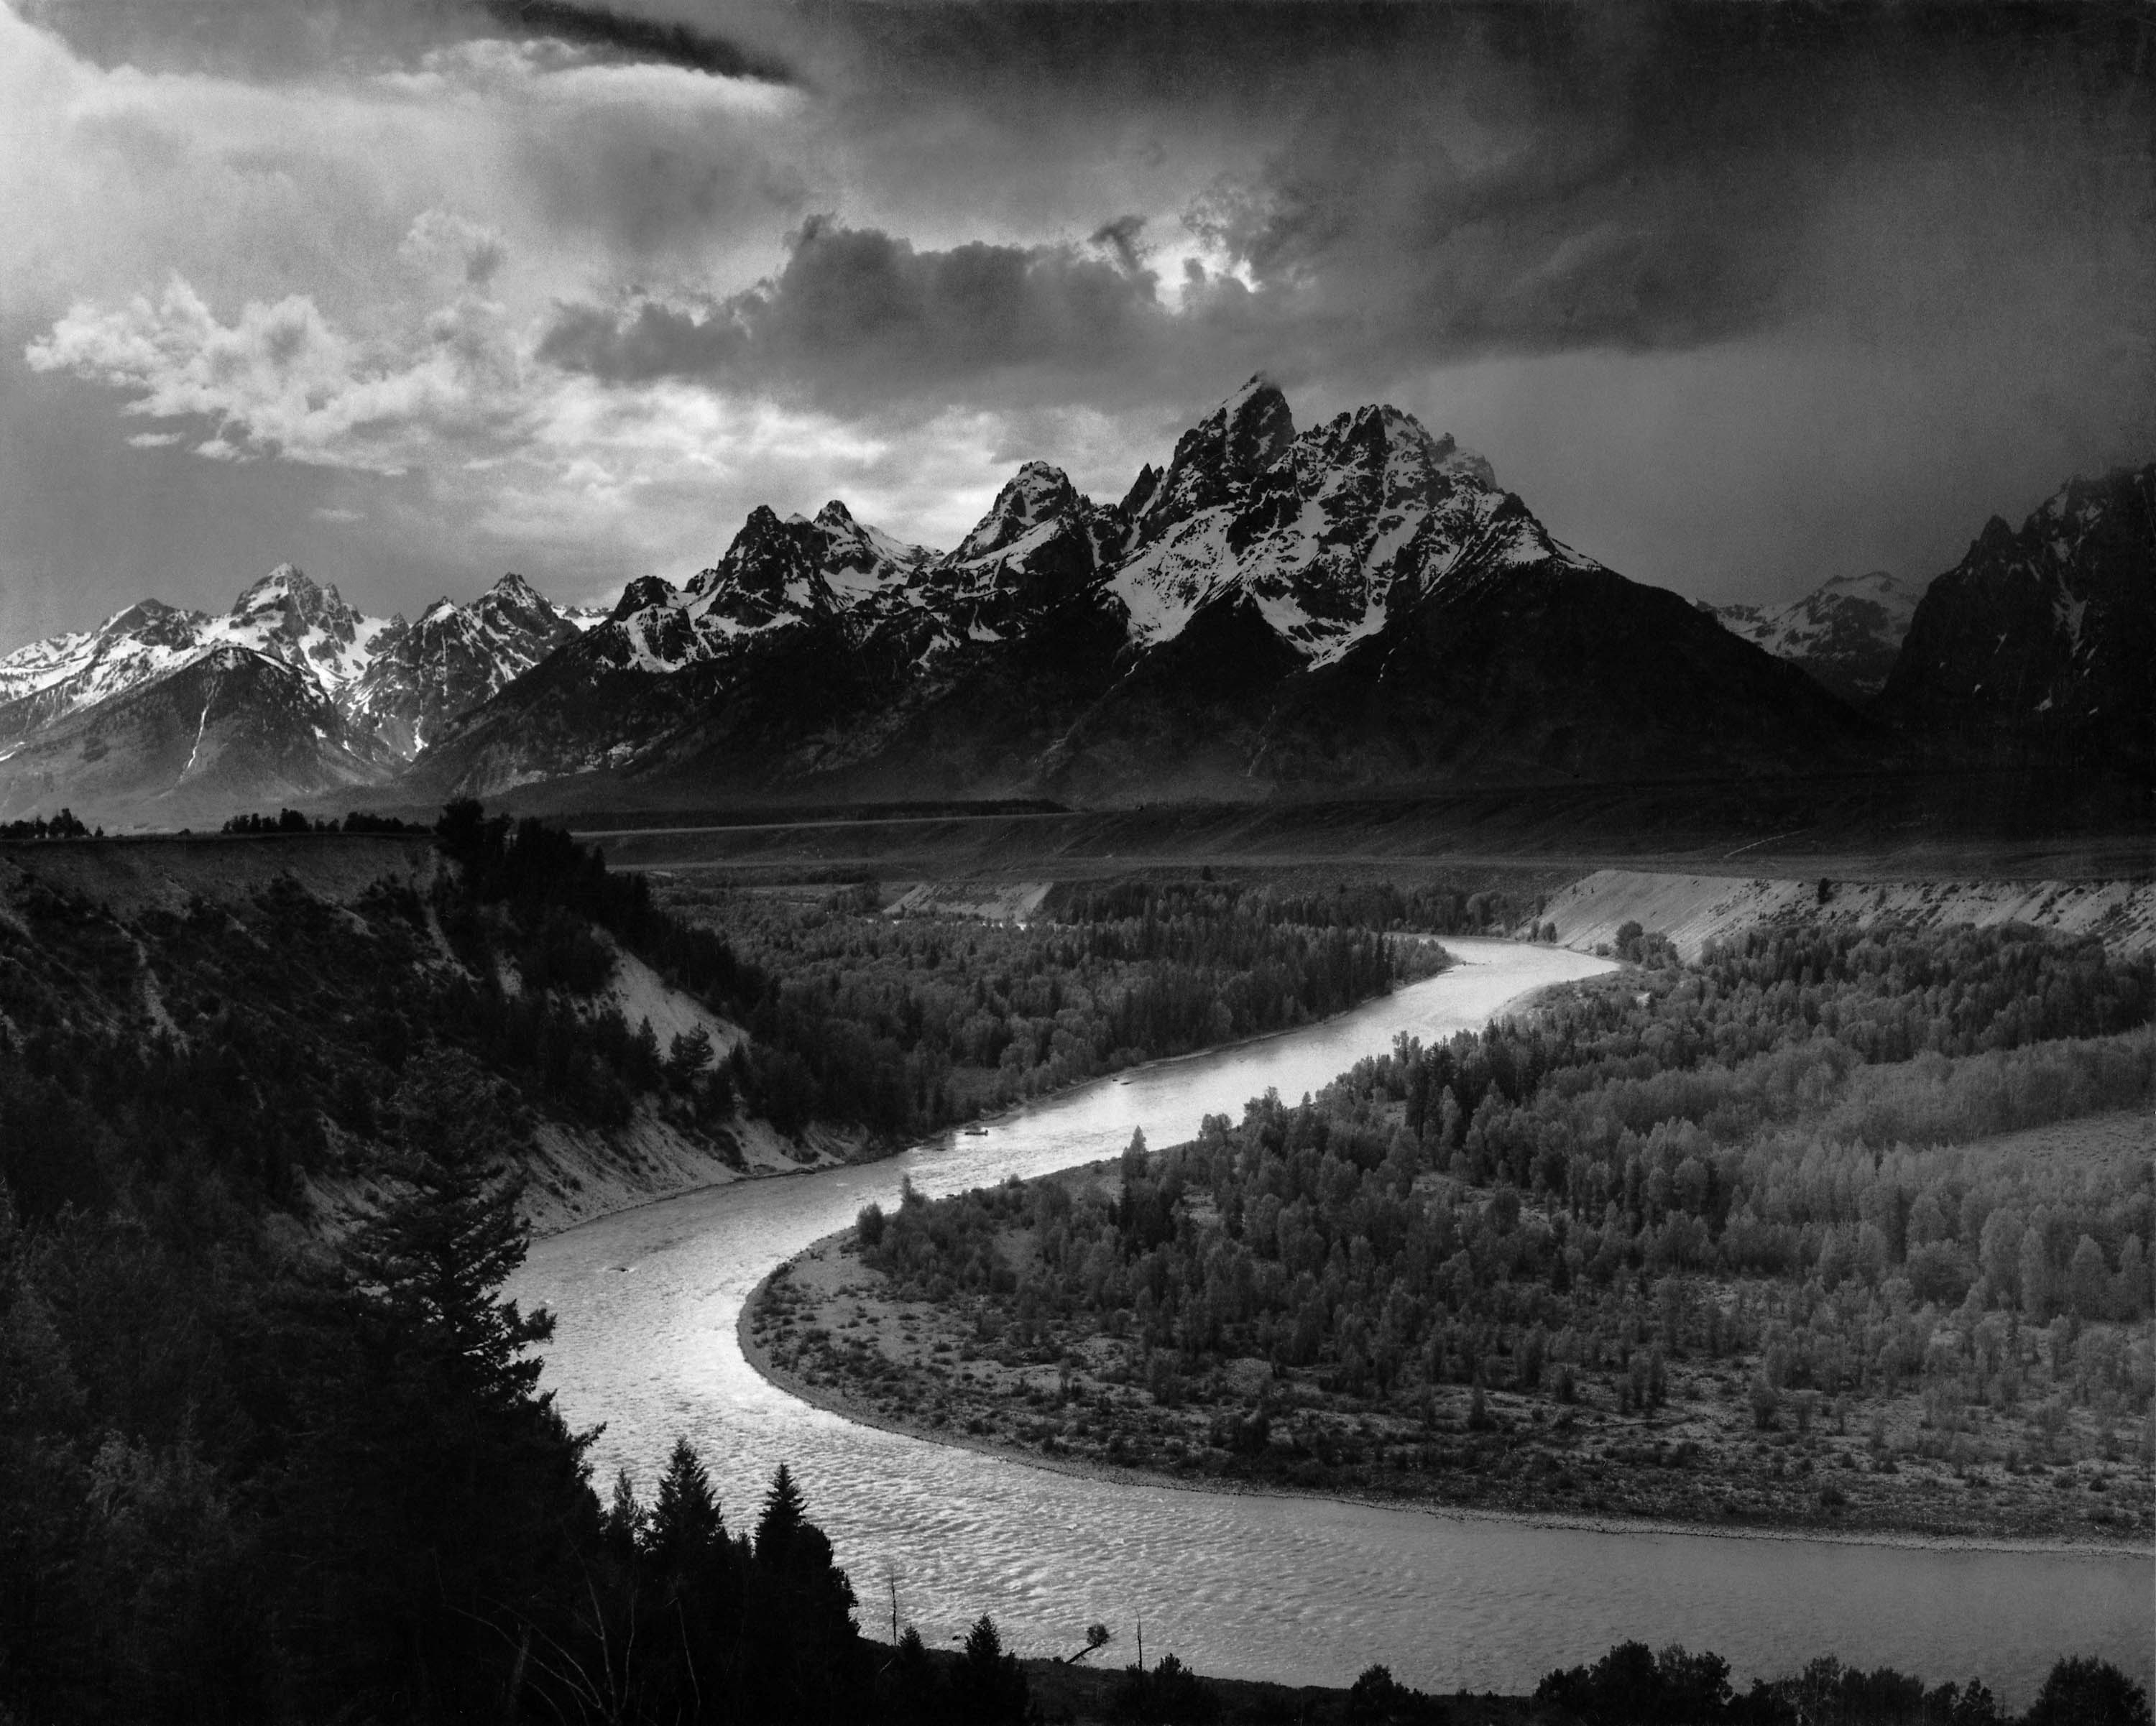
Ansel Adam’s Tetons and Snake River depicting a leading line. Notice how your eye starts bottom right and follows the river to the mountains through to the top left. Source: Wikipedia
Forget your Tools
Here’s where I tell you to throw out everything I just said. Not really, but it’s important to understand that there’s no one right way to do something (unless it’s math). Occasionally, there’s no foreground interest and the better landscape shot is suited for a telephoto lens. Or a wide–angle could be used, but the compressed perspective of a telephoto emphasizes details and patterns the wide-angle couldn’t. Similarly, capturing wildlife with a wide-angle can add a larger narrative to the story you’re trying to tell that the narrowness of a zoom would otherwise miss. Bottom line: understand what works as laid out by tradition and conventional wisdom, then experiment. Take the kind of pictures you want to take, challenge yourself, but most importantly, enjoy the process! .


